How to Apply OSMO PolyX Oil: A Complete Guide for UK DIYers
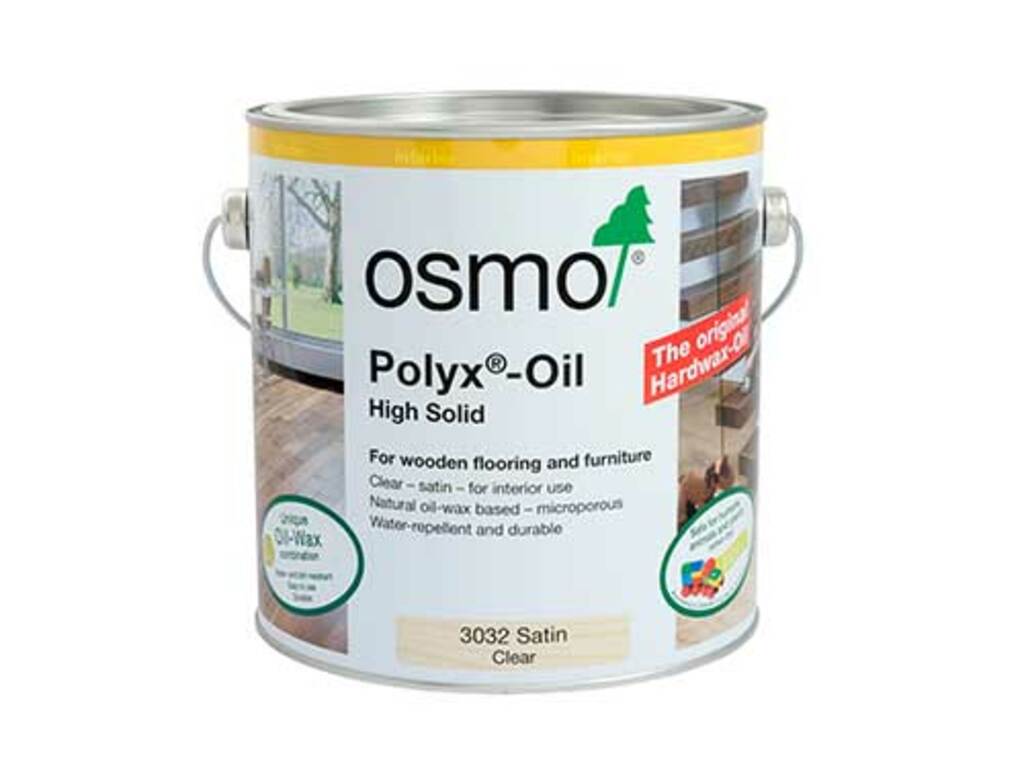 Wood flooring and furniture add warmth, charm and authenticity to any interior style – whether you’re a young professional redecorating your first flat, an architect specifying materials for a client, or a tradesperson refurbishing period properties. For a natural wood finish that’s both durable and beautiful, OSMO PolyX Oil is one of the most trusted choices in the UK.
In this detailed guide, we’ll take you through every step of applying OSMO PolyX Oil like a professional. Whether you're treating oak kitchen worktops, engineered floorboards, timber staircases or bespoke cabinets, following these instructions will help you achieve a flawless, long-lasting finish.
What is OSMO PolyX Oil?
OSMO PolyX Oil is a hard-wax oil finish that combines the durability of traditional polyurethane with the natural, breathable, and environmentally friendly properties of plant oils and waxes. It penetrates deeply into the wood to protect it from dirt, moisture, and wear while retaining the natural look and feel of timber.
Unlike varnishes that sit on the surface, OSMO oils are microporous – allowing the wood to breathe while still offering intensive protection against liquids and household wear. It's ideal for interior wooden floors, furniture, doors, worktops and children’s toys. Available in a range of sheen levels and colour tints, PolyX Oil has become a go-to product for both design-conscious homeowners and trade professionals.
Why Choose OSMO PolyX Oil?
If you're wondering what sets OSMO apart from traditional wood finishes, here are a few compelling reasons it's so popular in the UK:
- Extremely durable and hard-wearing for high traffic areas
- Enhances the natural grain and tone of wood
- Water, wine, beer, and cola-resistant once cured
- Easy spot-repair without full sanding
- Safe for people, pets and children when dry – certified to EN 71.3
- Renovation is simple: no sanding required for overcoating
Whether you’re aiming for a sleek finish in a Soho flat or restoring exposed beams in a Cotswolds cottage, OSMO PolyX Oil offers professional-grade results that last.
Tools & Materials You Will Need
Before you begin, gather all the tools required for a successful application. Preparation and the right equipment are key to achieving a smooth, even finish.
| Tool/Material | Purpose |
|---|
| OSMO PolyX Oil (Original, Rapid or Tints) | The finishing product for your wood surface |
| Lint-free cloths or microfibre pads | For wiping or buffing excess oil |
| Brush, flat mop or applicator pad | Used to evenly apply the oil |
| Fine-grade sandpaper (120–150 grit) | For surface prep, if needed, before oiling |
| Vacuum cleaner and tack cloth | To remove dust before applying oil |
| Protective gloves | To keep your hands clean during application |
| Stirring stick | To properly mix the oil before use |
Many DIYers fail to achieve a proper finish simply because they skimp on prep – don’t make that mistake! Start with the right tools and you’ll be halfway to a professional result.
Step 1: Preparing Your Wood Surface
A successful finish starts with thorough preparation. If your wood surface is dirty, oily or previously sealed with another product, OSMO PolyX Oil may not absorb correctly. Make sure it’s clean, dry, and free from contaminants.
First, inspect the wood. If it's raw or untreated, a light sanding using 120–150 grit abrasive will open up the grain for better absorption. Avoid sanding too finely, as excessively smooth surfaces can hinder oil penetration.
If you're refinishing previously coated wood, ensure all lacquers or varnishes are fully removed. OSMO PolyX Oil will not adhere properly over synthetic or sealed surfaces. Clean thoroughly using a hoover and tack cloth to pick up every last speck of dust.
If necessary, fill any cracks or holes with a wood filler appropriate for oil finishes, then sand flat. Remember, oil enhances the grain and colour of the natural wood – so test on a small area to check the final tone is as you expect.
Step 2: Applying the First Coat
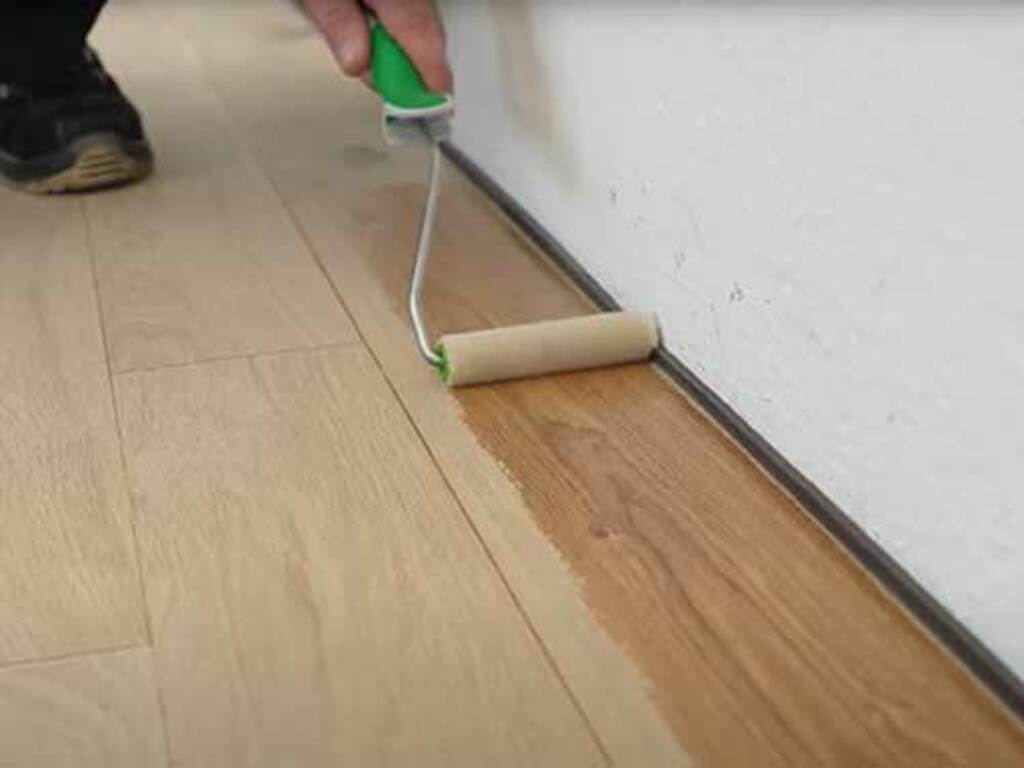
Stir the PolyX Oil thoroughly before and during use – do not shake. Apply thinly and evenly using a fine-bristle natural brush, flat mop or lint-free cloth. The first coat should soak into the surface rather than sit on top.
Work with the grain of the wood in smooth, continuous motions. For flooring, divide the room into sections and apply methodically from corner to corner. Avoid lap marks by maintaining a wet edge and feathering out each section.
Leave the first coat to absorb for 10–15 minutes, then wipe off any excess that hasn’t penetrated using a clean microfibre cloth. This step is crucial for avoiding stickiness or overly glossy patches.
Allow the first coat to cure for around 8–10 hours (Original) or only 4–5 hours (Rapid version), depending on temperature and ventilation. During this time, keep traffic away from the area and avoid introducing dust or moisture.
Step 3: Applying the Second Coat
Once the first coat is dry, inspect the surface for any raised grain or roughness. A very light sanding with ultra-fine abrasive (320 grit) can be done to knock back any raised fibres – but make sure to vacuum thoroughly afterwards.
Apply the second coat in the same thin, even manner, again ensuring to remove excess product after 10–15 minutes if present. A second coat reinforces protection and enhances the depth of tone.
Let the surface cure again for at least 8–10 hours (or 4–5 with OSMO Rapid). Once dry, your surface should have a soft satin or matt finish that is resistant to stains, scratches and general household wear.
Tip: Avoid placing rugs or heavy furniture for 5–7 days after application to allow the oils to fully harden and cure thoroughly.
Post-Application Care & Maintenance
One of the perks of using OSMO PolyX Oil is its low-maintenance appeal. Routine cleaning can be done with a damp cloth or OSMO Wash & Care spray – generously diluted in warm water.
For deeper cleaning or reconditioning, a maintenance oil or cleaner such as OSMO Liquid Wax Cleaner can be applied periodically to refresh sheen and revive tired surfaces.
Scratches or worn areas can be easily spot-treated without needing to sand down the entire surface. Simply clean, lightly abrade, and touch up with a thin coat of PolyX Oil for a seamless blend.
In high-traffic commercial spaces like cafes or shops, more frequent cleaning or buffing may be required, but the breathable, microporous nature means you’ll retain the look of real timber for years to come.
Common Mistakes to Avoid
- Applying the oil too thickly – leading to long drying times and a patchy sheen
- Not removing excess oil within 15 minutes causes stickiness and glossy spots
- Insufficient surface prep – dirt or lacquer remnants can block penetration
- Skipping the second coat reduces the durability and protection levels
- Using synthetic brushes, which can apply oil unevenly
- Failing to stir before use may result in inconsistent colour and finish
By avoiding these errors, you’ll ensure your hard work pays off and your wood looks stunning for years to come.
Final Thoughts
Applying OSMO PolyX Oil doesn’t need professional credentials – just patience, attention to detail, and the right tools. From Chelsea townhouses to Sheffield co-working studios, this powerful oil finish has won over a diverse range of UK homeowners, designers and woodworking professionals.
Keep in mind that wood is a living, breathing material. With OSMO’s smart oil and wax technology, you can enhance its natural beauty while offering top-tier protection, all without resorting to synthetic finishes.
Have questions about which version of PolyX Oil to choose? Or want to know if it’s suitable for your next project? Get in touch with our team – we’re always happy to help fellow wood lovers across the UK.
Now you’ve got the know-how, it’s time to bring out the brush and let the transformation begin!