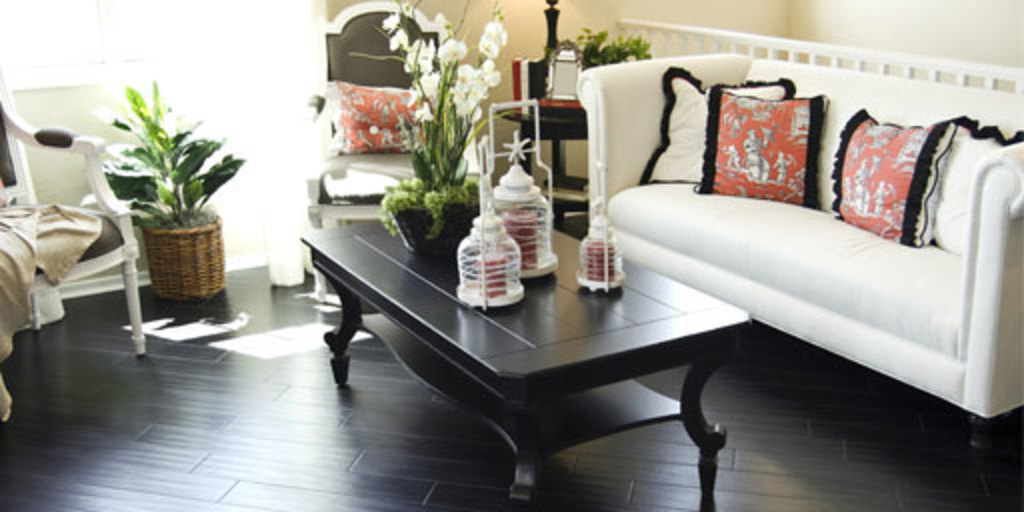
How to Darken Wood Floors
 Dark wood flooring appears to be one of the most common and popular choices among homeowners and interior designers nowadays. There is something really attractive and impressive in the deepness and intensity of the dim shades matched with the natural pattern.
In fact, dark floors make up for a very versatile and at the same time unique element of the interior of every room. The good news is that is suitable for both classic and modern interiors. In fact, there are a bunch of wood species that naturally come in dimmer shades and colours, so if you want to go for entirely natural, this is a choice that is worth it. However, the natural colour is not the only option to enjoy unique, sophisticated, and impressive flooring. Nowadays, the industry is offering plenty of opportunities to achieve the exact intensity and level of darkness your heart desires with a few simple steps.
Some of the most common domestic flooring species that come naturally dark are walnut, ipe, and cherry. These are considered exotic, which is why they usually come with a pricier tag. However, there is no need to break the bank to enjoy a deeply dark and dramatic floor. If you are on a tighter budget and you do not want to spend a lot of money you will be happy to find out that there are a bunch of services and treatments available that can make a simple wood look as good as you can imagine for just a fraction of the price. Find out more about these treatments and how you can get the effect your heart desires in this article!
First, you should start with the right base. The best wood species you can use as a base for achieving a different and eye-catching appearance is the good old oak. This is a very popular choice among homeowners due to its durability and hard-wearing power. The wood species is also a good idea for additional darkening treatments. Thanks to its clean, light, and simple appearance you can play around with it and build up style-wise. Oak can be coloured, painted and treated in so many different ways and you will get the exact results you are expecting. Furthermore, this type of wood is a very affordable option. Here is a comprehensive list of the most common, popular and effective methods used for darkening floors: 
Fuming
It is also known as smoking, which is a pretty self-explanatory name for the treatment. One important thing to remember is that fuming is done best by professionals and it is not a safe thing for the enthusiastic but non-experienced hands of a DIY-er. In a nutshell, it involves taking the oak wood into an enclosed environment (such as a tent, container, closed tank, etc.).
The floorboards are exposed to the impact of the atmosphere infused with ammonia. As simple as it sounds, ammonia does the whole job by changing the natural colour of oak by making the tannins in the wood get to the surface. What you will get is significantly darker in shade wood. The longer the planks are kept in this ammonia-laden atmosphere, the darker it is going to get. However, one of the most important things to notice in this case is that ammonia is never directly applied on the surface of the boards as this step is going to damage the wood. As you can guess, despite being very effective, this treatment is also very specific and requires experience so it is better left to the controlled by a specialist environment.
Baking
The other way the baking treatment is called thermo treating and it is another process that involves a lot of professionalism, knowledge and experience to achieve the perfect results safely. One of the main benefits of this treatment is significantly darkening the natural colour of the wood and saving its amazing durability and hard-wearing power.
Staining
This is on the less difficult side of this list and this is why an enthusiastic DIY-er can perform it, however, it still requires attention to details, knowledge, and caution. One thing to notice is that staining provides very intense results in terms of darkening. If you do not feel confident enough and you prefer a better-controlled process and results, you may ask a professional team for help.
The staining process is recommended to start with sanding. This will make the surface of the wooden boards extra even, and smooth. It will remove all imperfections and issues which can otherwise be highlighted by the colour pigments of the stain and make it more visible. Sanding starts with a sanding paper with a higher grit and then continues with a finer and finer grit. The more coats of stain you apply, the darker results you will get.
Ideally, intense colour can be achieved with three coats of stain. Remember that you should allow for a drying period between each layer applied for at least 12 hours. This method is pretty much the most time-consuming indeed. However, it can save you money. Once the boards are darkened to the extent you want and completely dry make sure to apply floor varnish on top to protect the colour.
Oiling
Just like staining, oiling gets the best of both worlds – you can transform the colour of the floor and use the protection of the sealing oiled product. It is recommended if you want to achieve a humbler and not that dramatic effect while highlighting the natural texture of wood at the same time.