How to Apply Floor Varnish Like a Pro
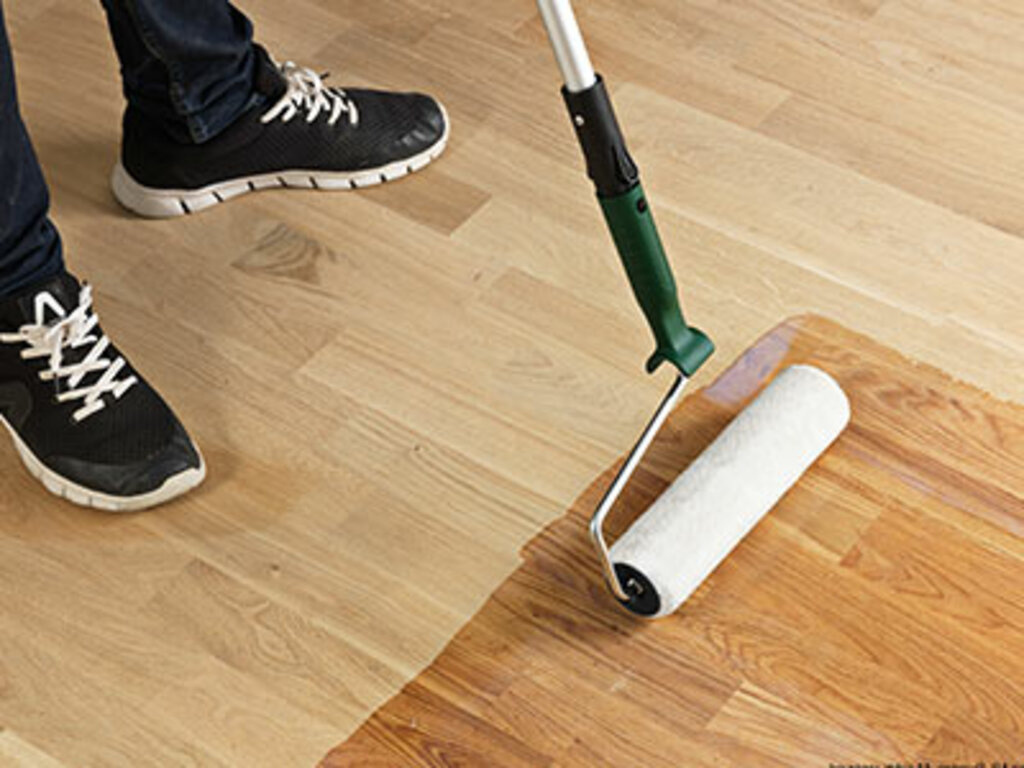
Floor varnish is a popular solution for protecting and enhancing the look of wooden floors. There are different types of floor varnish that you can choose from, such as oil-based, water-based, and polyurethane. Each type has its own advantages and disadvantages, so it's important to understand the differences between them before making a decision. One of the main benefits of using floor varnish is that it can help seal the wood, preventing it from absorbing moisture and dirt.
It can also give the wood a glossy or matt finish, depending on your preference. Additionally, floor varnish can help prolong the life of your wooden floors, which can save you money in the long run. When selecting the right varnish for your needs, there are a few factors to consider, such as the type of wood you have, the amount of foot traffic the area will receive, and whether you want a glossy or matt finish. It's also important to properly prepare the wood before applying the varnish, which can include sanding and cleaning. Overall, understanding floor varnish and its benefits can help you make an informed decision when it comes to protecting your wooden floors.
Preparing the Surface
Preparing the surface is a very important step before any kind of surface coating or finish is applied. This process ensures that the surface is clean and in good condition, allowing for maximum adhesion and a long-lasting finish. The first step is removing any old finish by either sanding it or using a chemical stripper. After that, the surface has to be sanded to a smooth and even finish, preferably with a wood floor sanding machine. This process gets rid of any remaining old finish or raised grain from the previous steps. Once sanding is complete, it's time to repair any cracks, gaps, or imperfections in the surface. There are various materials that can be used to fill these gaps such as wood filler, epoxy, or resin. It's essential to wait for the filler to dry completely before proceeding with the next step.
Once the surface is smooth and even, it's essential to properly clean and dust the area. This step prepares the surface for the next coating, ensuring that there are no debris, dust, or other particles that could interfere with adhesion. A vacuum cleaner or tack cloth can be used to remove any dust or debris after sweeping. If the surface is greasy, a solvent or degreaser may be necessary to clean it thoroughly. Proper preparation of the surface is critical for a successful coating that will last for years.
Recommended Floor Varnishes
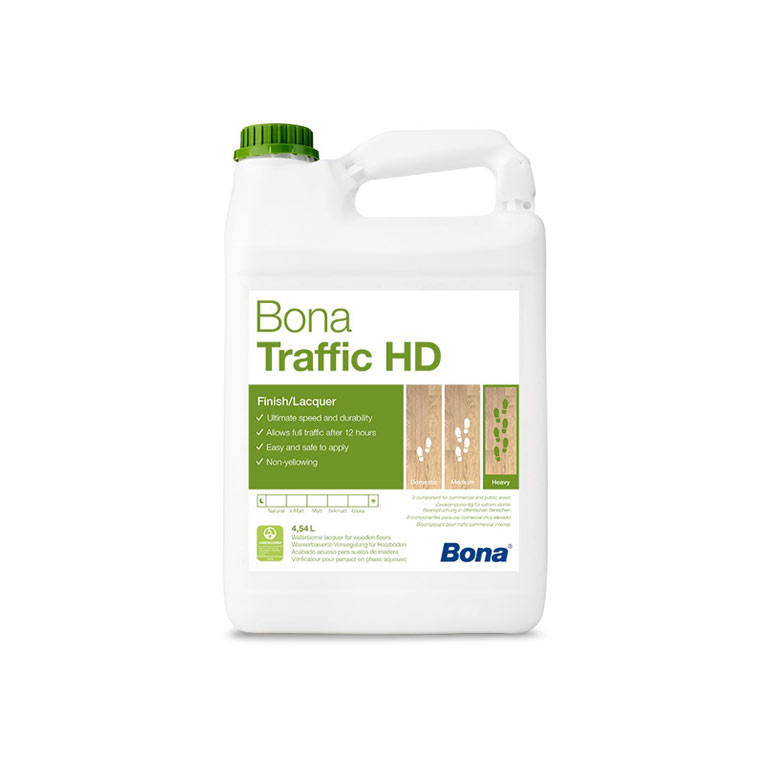
Bona Traffic HD SilkMatt Varnish 5L

Junckers HT700 Floor Lacquer, Satin, 4.95L
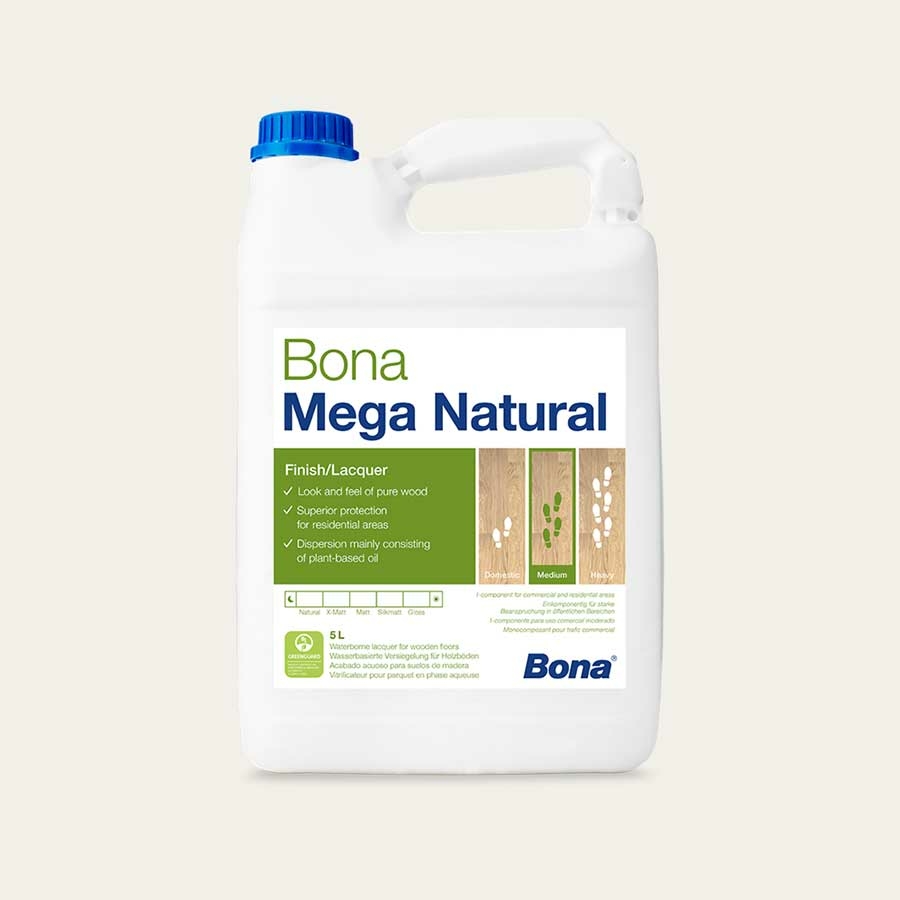
Bona Mega Natural Varnish, 5 L

Junckers MT500 Floor Lacquer, Silk Matt, 5L
Gathering the Right Tools and Materials
Gathering the right tools and materials is imperative when it comes to applying varnish to your wooden floors. The essential tools for applying varnish include sandpaper, a scraper, a tack cloth, and a good-quality brush, roller, or pad. Sandpaper is used to smoothen the wood surface so that the varnish adheres better, while a scraper is useful for removing old varnish or paint. A tack cloth is necessary to clean the surface of dust and debris before applying varnish. When it comes to choosing the right applicator, there are three options: brush, roller, or pad.
While a brush is ideal for precision work and angled surfaces, rollers are better for larger areas. Pads resemble a sponge and produce a smooth, even finish. It all depends on the size and shape of the surface you are varnishing. Selecting the appropriate varnish and finish is crucial as they come in various types, including clear, tinted, gloss, satin, and matt. Clear varnish enhances the natural look of the wood, while tinted varnish adds colour. The gloss finish produces a high shine, satin gives a soft sheen, and matt provides a flat, subtle finish. Consider the look you are going for and the level of durability needed before selecting a varnish type. By gathering the right tools and materials, selecting an appropriate applicator, and choosing the ideal varnish and finish, you can achieve a professional-looking varnish job.
Applying Varnish Step by Step
A strategic work plan is essential when applying the varnish. The surface should be free of dust and debris to ensure smooth and effective application. The first step should be to apply a thin layer of varnish using a brush or roller. This layer should be allowed to dry completely before sanding it lightly. Sanding between coats is essential for achieving the desired result. The surface should be cleaned thoroughly with a tack cloth to remove any dust. Subsequent coats of varnish should be applied using the same technique.
These coats should be applied in thin layers, allowing them to dry thoroughly before sanding between them. The final coat should be left to dry completely before using the floor. It is important to ensure that the drying and curing time is sufficient to ensure a long-lasting finish. Varnish should be applied in a well-ventilated area to ensure that inhaling the fumes is avoided. Proper safety measures such as wearing protective gear, including gloves, goggles, and a mask, should be considered. Applying varnish to your hardwood floor step by step requires strategic planning, proper application, sanding between coats, and ensuring sufficient drying and curing time. A perfect finish can be achieved, and your flooring will be protected and will last for a long time.
Tips and Techniques for a Professional Finish
Proper varnish application is key to achieving a smooth and even result. This can be done by starting with a clean surface, applying thin coats, and sanding in between layers. It is also important to avoid common mistakes and issues, such as overloading the brush or not allowing enough drying time between coats. If drips, bubbles, or brush marks do occur, they can be dealt with by carefully sanding and reapplying varnish. Achieving consistency and depth of colour can be achieved by choosing the right type of varnish and applying multiple coats. It is important to follow the manufacturer's instructions and take your time to ensure a professional finish. Additionally, using high-quality brushes and rollers can help to achieve a smoother application and reduce the risk of brush strokes.
Recommended Floor Varnishes
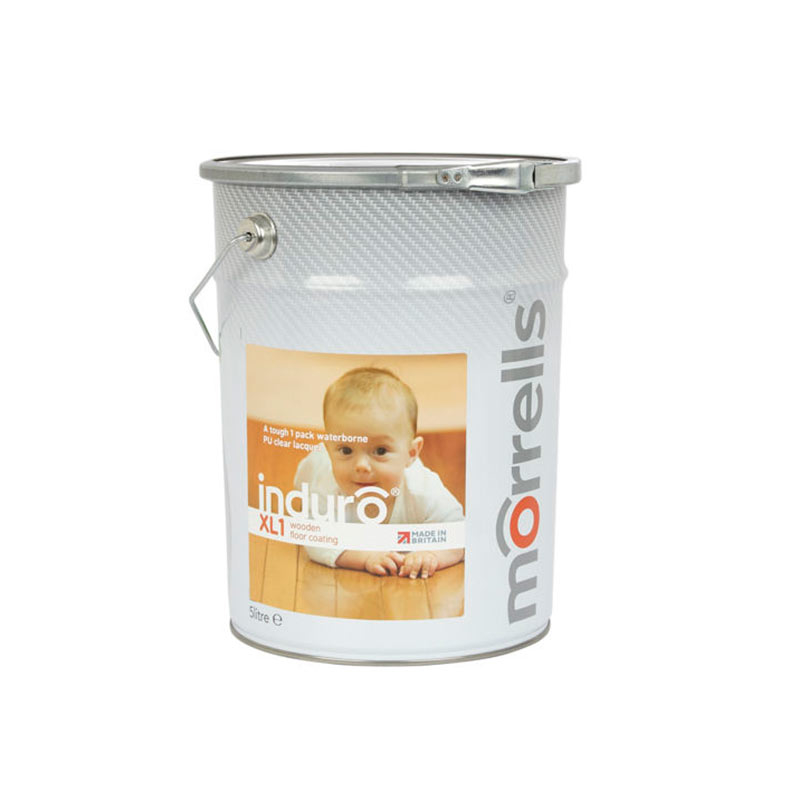
Morrells Induro XL1-50, Satin Anti-Bacterial Waterbased Varnish, 5L
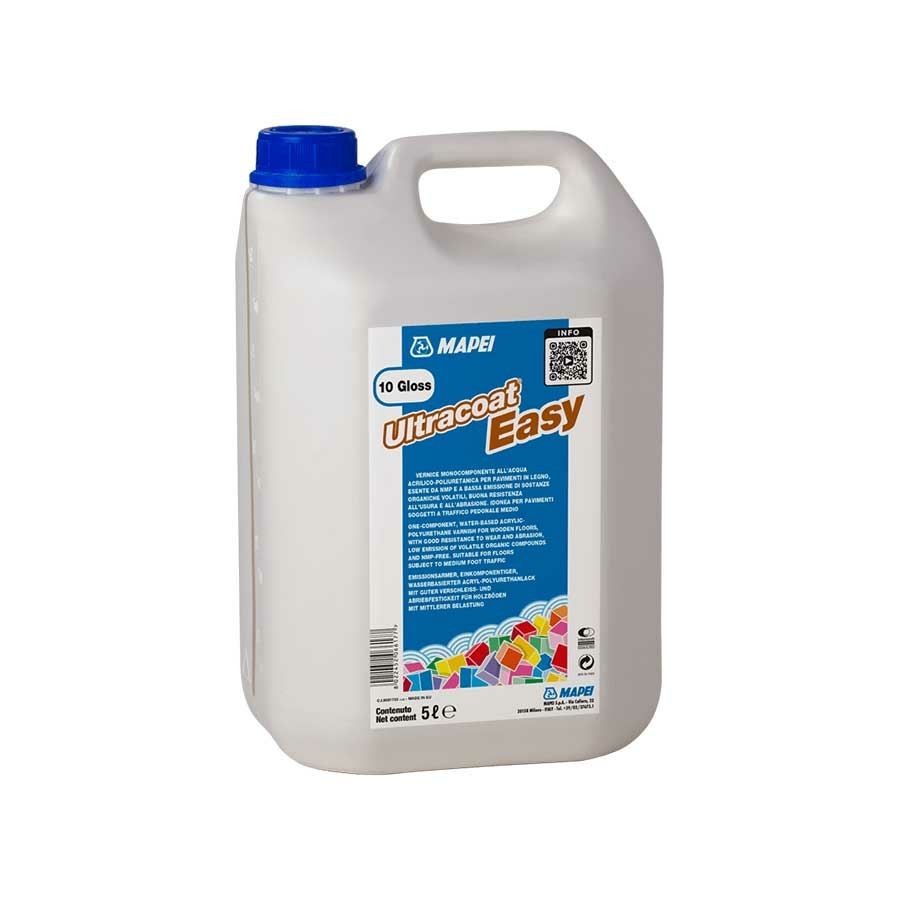
Mapei Ultracoat Easy 10% Gloss Varnish, Matt, 5L
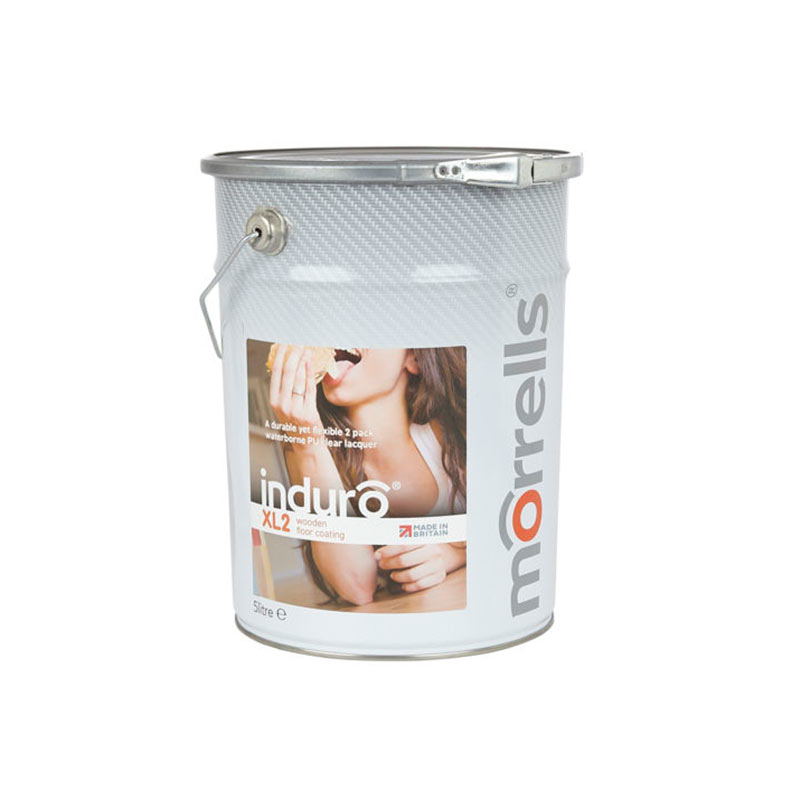
Morrells Induro XL2-50, Satin Anti-Bacterial Waterbased Varnish, 5L
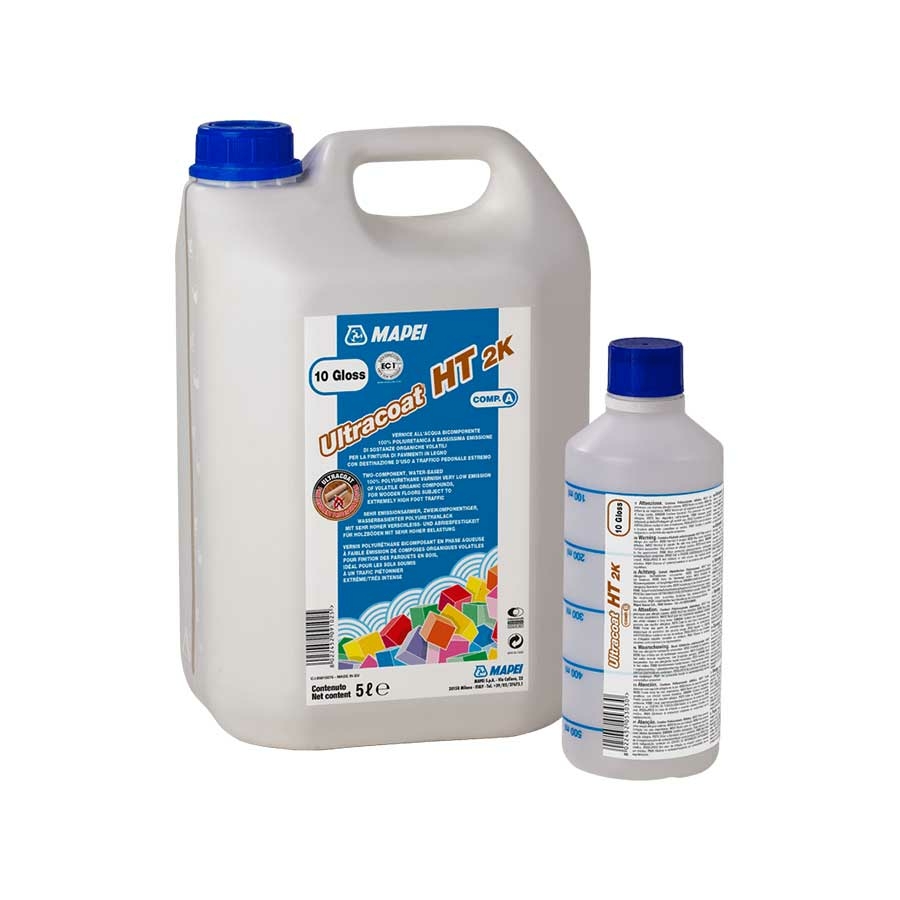
Mapei Ultracoat HT 2K, 30% Gloss Varnish, Semi Gloss, 5.5L
Troubleshooting and Common Issues
There are several common issues encountered during the varnishing process that could ruin the expected outcome. One common issue is streaks or uneven finish, which can be a result of applying too much varnish or not enough. To address this, you can try sanding and reapplying varnish thinly and evenly. Blemishes and imperfections, on the other hand, can occur due to dust or other debris getting trapped in the varnish. This can be fixed by sanding the affected area lightly and applying a new coat of varnish. Scratches or damaged areas can be repaired by sanding out the damaged area, applying wood filler, and then sanding lightly before applying varnish.
Varnish peeling or flaking can also occur, usually due to high humidity levels or improper surface preparation. To address this, one can scrape or sand the peeling or flaking areas and apply a new coat of varnish. In case of more extensive damage or complex repairs, seeking professional assistance and guidance may be necessary. Professional advice is recommended before starting a woodworking project to ensure a successful outcome. By troubleshooting common varnishing issues and taking the necessary steps to fix them, one can ensure a beautiful and long-lasting finished product.
Safety Precautions and Best Practices
It’s crucial to take the necessary safety precautions to protect yourself and those around you. Proper ventilation and airflow are essential to prevent inhaling harmful fumes. Always provide adequate ventilation by opening windows and doors and using fans to circulate the air. Protective equipment such as gloves, mask, and goggles are crucial to prevent skin contact or inhalation of harmful particles. Be sure to wear appropriate gear while applying varnish to protect yourself from accidental spills and splatters. It’s essential to store varnish and materials in a dry, well-ventilated place, away from any sources of ignition, and dispose of any leftover material safely.
Keep children and pets away from the area as the varnish is drying to avoid accidental inhalation or ingestion. It’s essential to follow all the manufacturer's instructions and recommended guidelines for the appropriate use of varnish. When applying the varnish, make sure to spread it consistently in the direction of the wood grain with a high-quality brush or roller and allow the recommended amount of time for each coat to dry. Overall, taking the necessary safety precautions when varnishing your floor ensures that the process is completed efficiently and safely while achieving a beautiful, long-lasting finish.